Smart Home
AI Butler ships with a complete smart-home tool surface already wired up. You can discover devices, read sensors, and control lights/thermostats from natural conversation today — against a pre-populated stub adapter that behaves exactly like a real one. The Home Assistant adapter is on the roadmap; when it ships, every example on this page will continue to work unchanged, just with real devices behind the tools instead of the stub.
This page is a full end-to-end walkthrough. Every screenshot is captured live from a running instance.
The three-tier security model
Section titled “The three-tier security model”Smart-home devices fall into three tiers based on risk. AI Butler’s capability engine gates actions differently at each tier:
| Tier | What it covers | Capability at boot | Confirmation required |
|---|---|---|---|
| Tier 1 — Sensor | Temperature, humidity, motion, CO₂, light levels, power usage | ✅ Granted by default | None — read-only |
| Tier 2 — Comfort | Lights, thermostats, fans, speakers, smart plugs, curtains | ✅ Granted by default (rate-limited + audited) | None — reversible |
| Tier 3 — Safety | Door locks, garage doors, gas/water valves, alarm systems | ❌ Not granted by default | Explicit grant + PIN + user confirmation |
This mirrors the UNIX model: read operations and low-risk comfort actions work out-of-the-box (like ls or cat), but anything that affects physical security requires explicit elevation (like sudo). You can’t accidentally unlock your front door by asking Butler to do it — the capability simply isn’t there unless you turn it on deliberately in your config.
Five live demos
Section titled “Five live demos”Open your running web chat at http://localhost:3377 and try these messages yourself — they all work out of the box on a default install.
1. Discover all my devices
Section titled “1. Discover all my devices”You: I just set up AI Butler. Show me every smart home device you can see right now — use your
iot.device.listoriot.device.discovertool. For each device tell me: name, type, which room/zone it’s in, and whether it’s safety-critical or comfort-level. Format as a clean table.
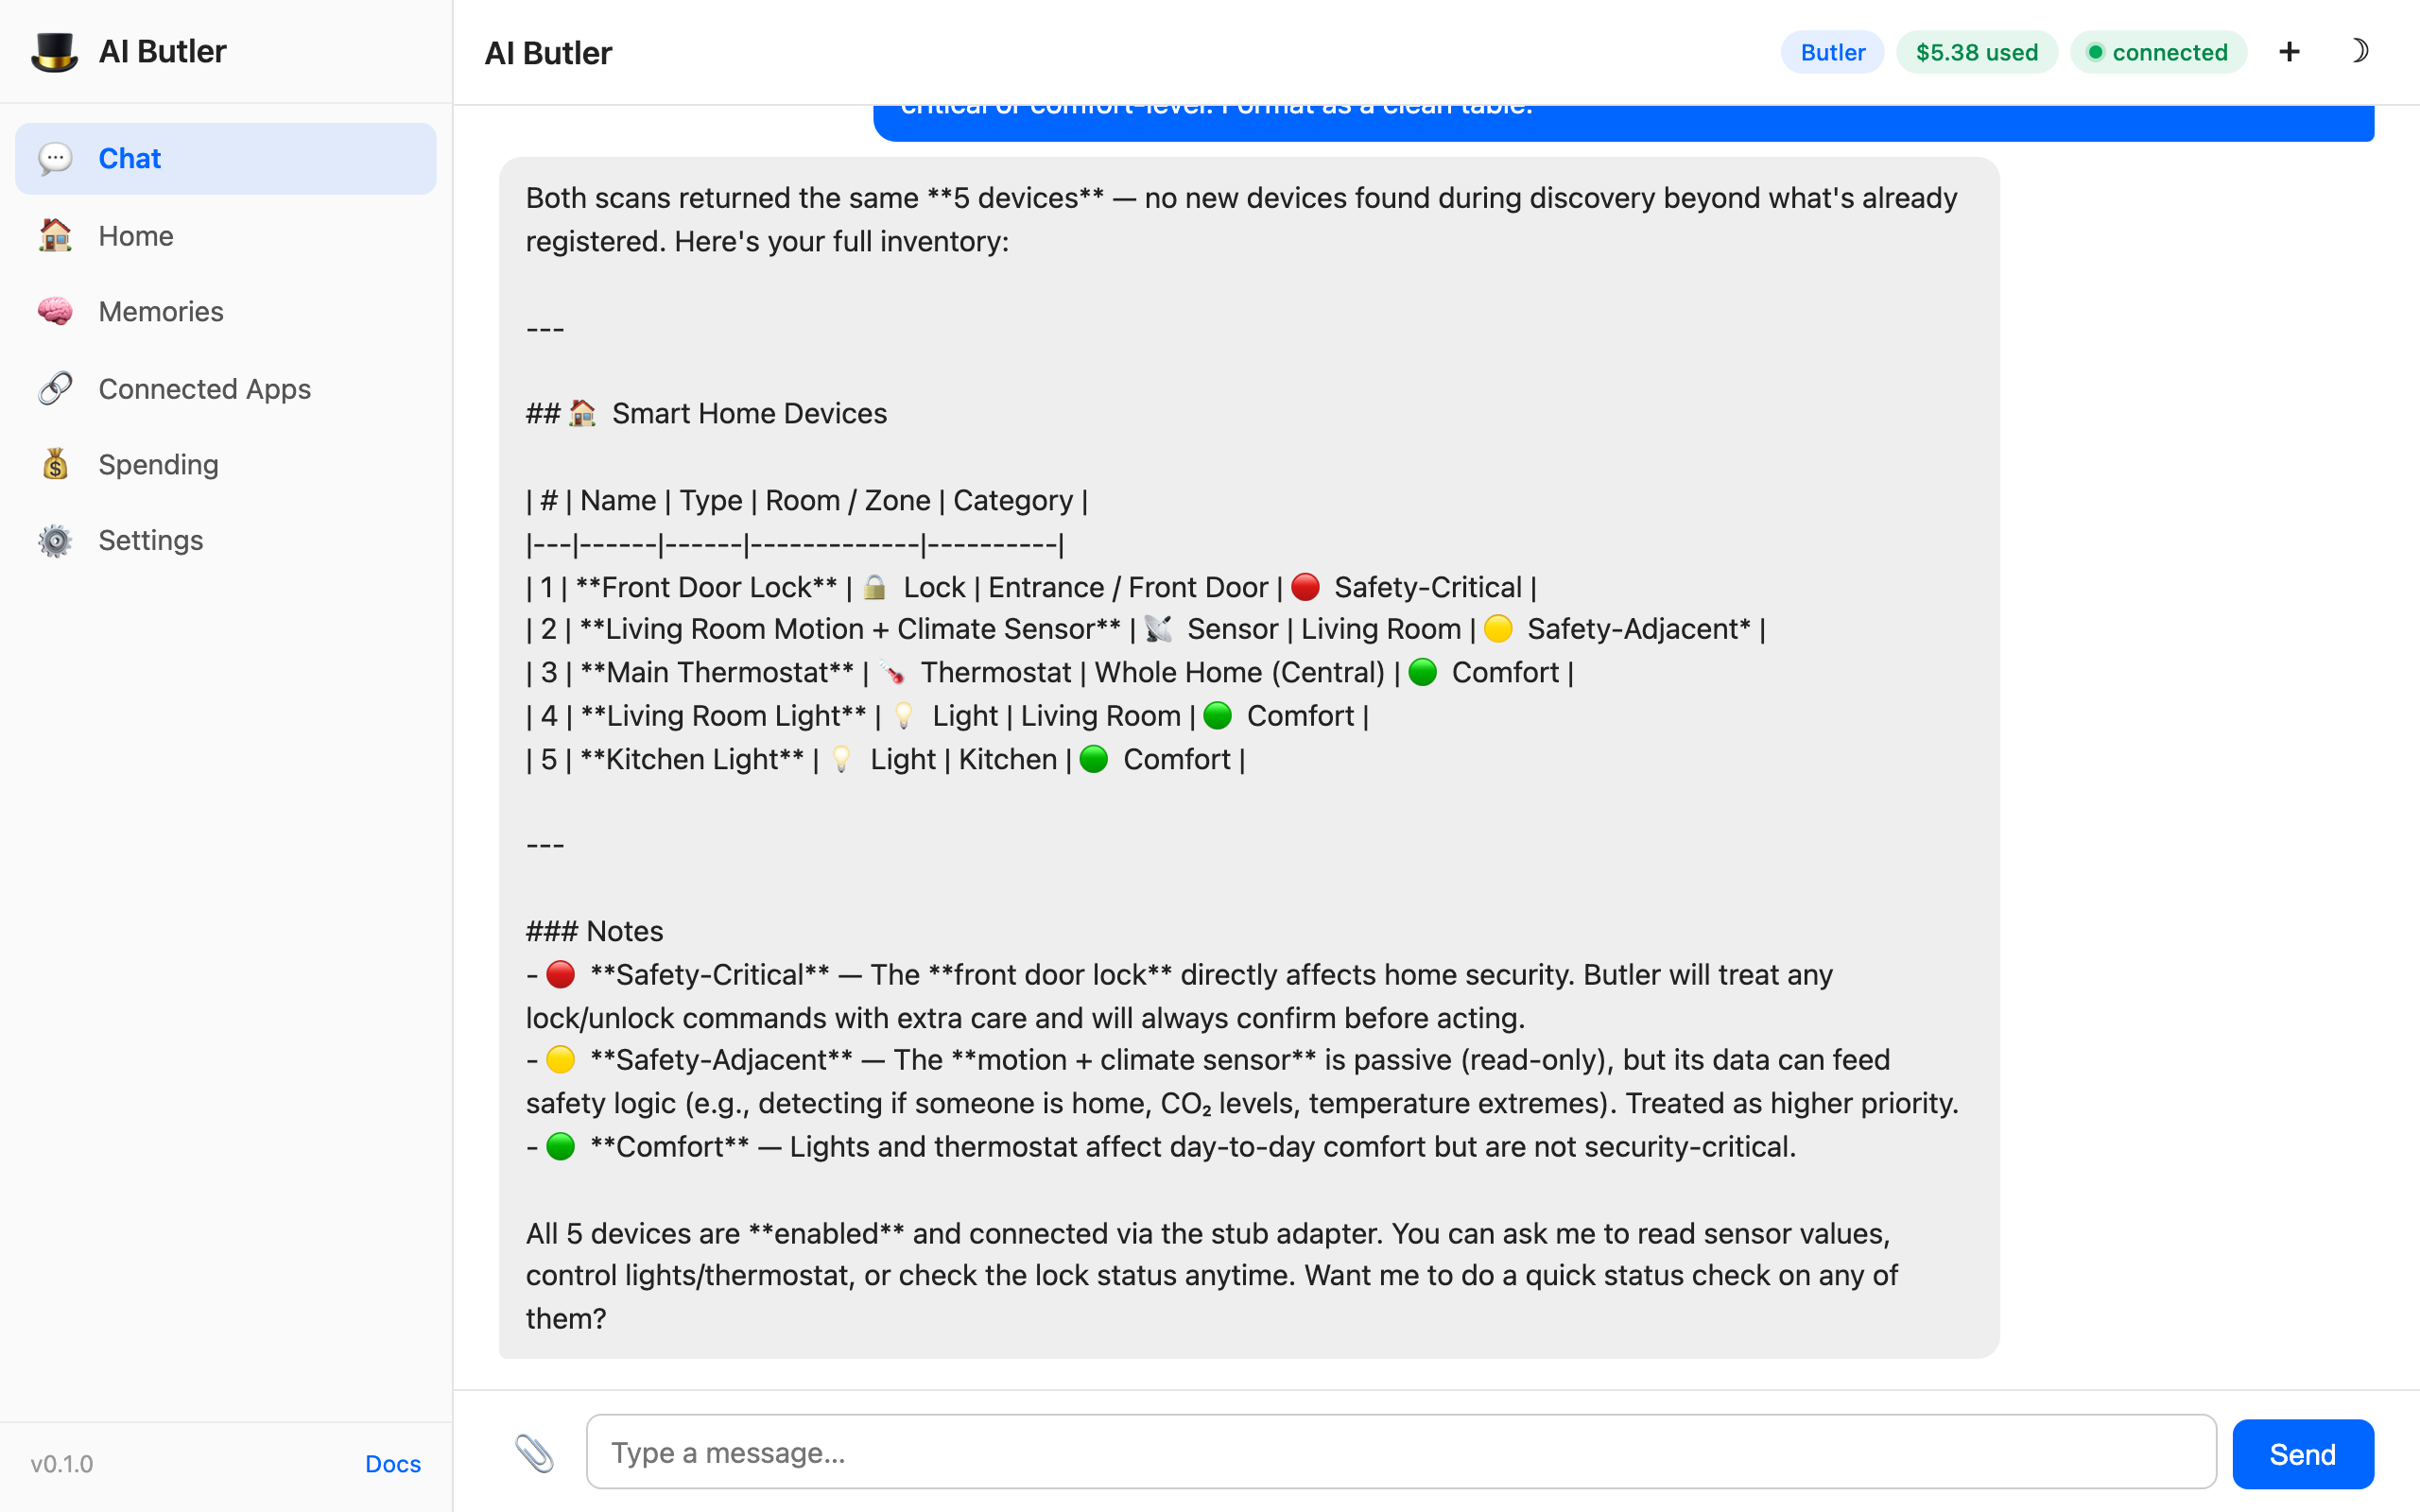
The agent calls both iot.device.discover and iot.device.list to cross-check, finds all 5 demo devices, and classifies each one by security tier with an explanation of what each tier means:
Notice what the agent does on its own:
- Calls two tools (
list+discover) instead of one, to verify the inventory matches the live network scan - Classifies each device by tier — the Front Door Lock lands in Safety-Critical automatically because it’s a
lockDeviceType withTierSafety - Explains the tier system in plain English at the bottom, so a non-technical user understands why “locks are different”
- Offers the next logical action — “want me to check the status of any of them?”
This is the “happy path” for smart-home onboarding. New users can ask “what do you see?” and get a complete inventory in one message.
2. Read live sensor data
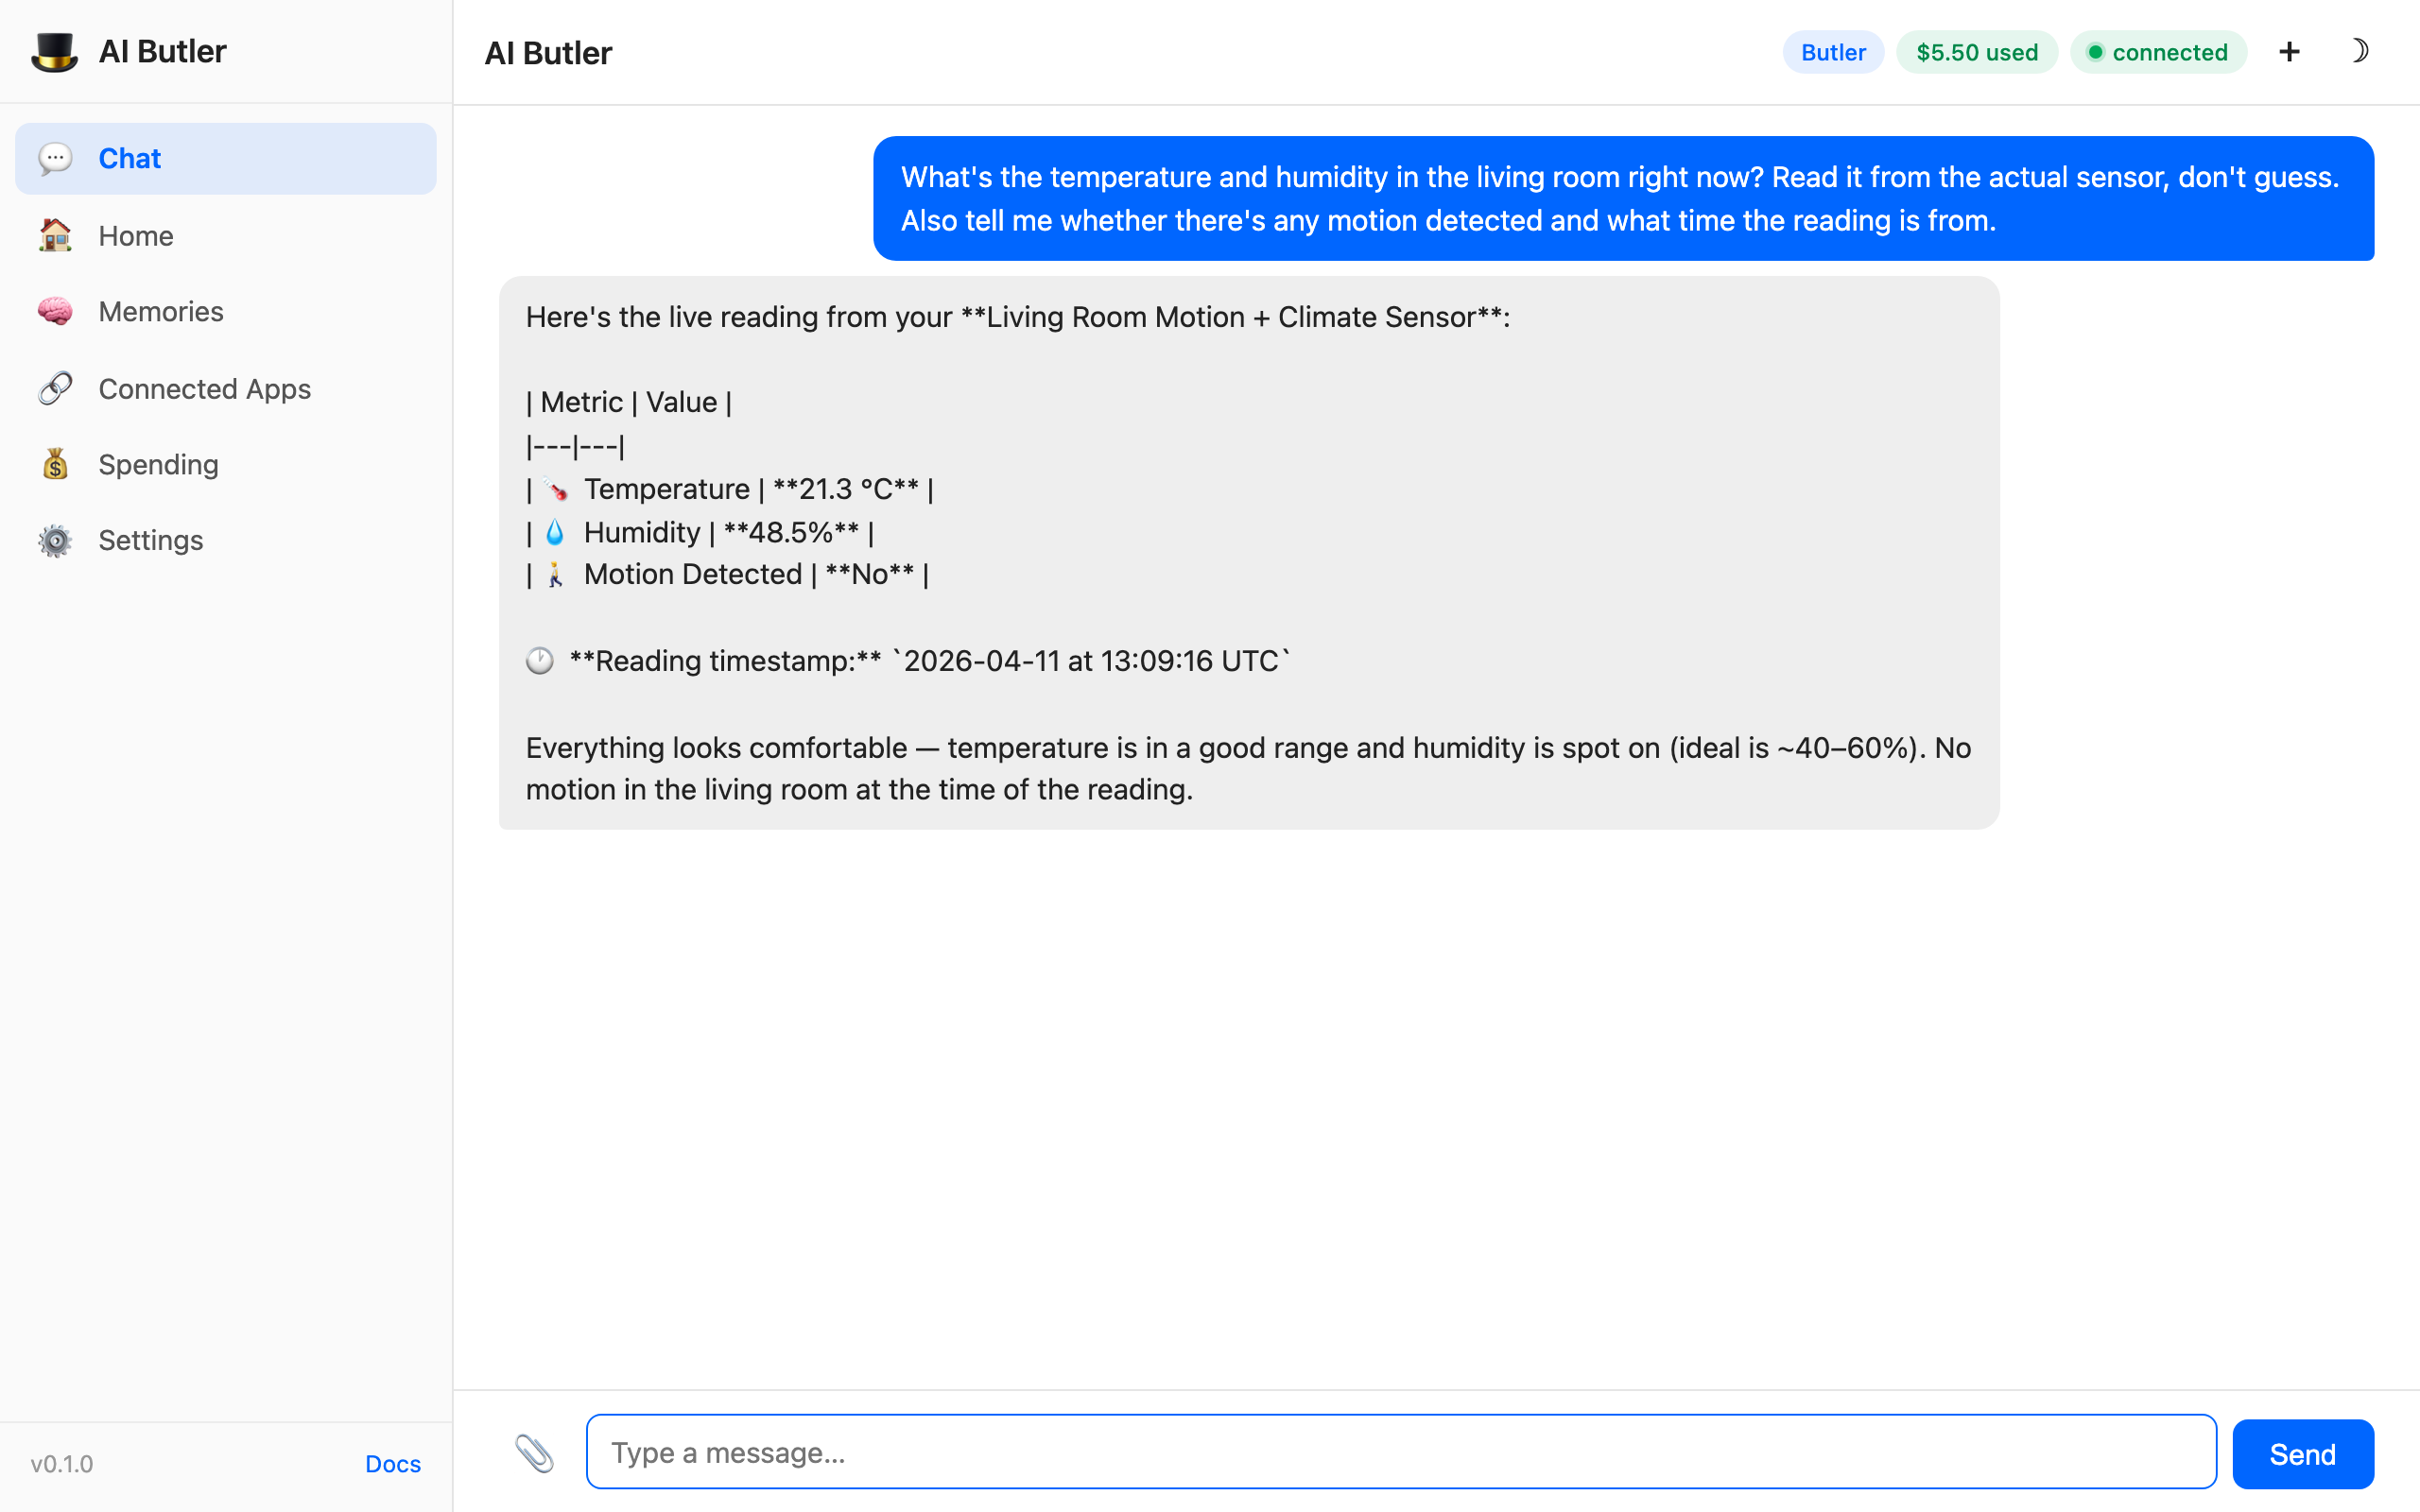
Section titled “2. Read live sensor data”You: What’s the temperature and humidity in the living room right now? Read it from the actual sensor, don’t guess. Also tell me whether there’s any motion detected and what time the reading is from.
The agent calls iot.sensor.read with device_id: "sensor-living-room", gets back the live sensor feed, and formats it with human-readable commentary:
The important thing here isn’t the specific numbers — it’s that the agent:
- Knew which device to read from (matched “living room sensor” to
sensor-living-room) - Included the timestamp so you know how fresh the data is
- Added contextual commentary (“humidity is spot on, ideal ~40–60%”) based on what it knows about comfortable indoor ranges
- Noted the motion state explicitly — which is a security-relevant signal you’d want to know about
When the Home Assistant adapter ships, this exact workflow will return real data from your physical sensors without any config change to this page.
3. Control a comfort device (light off)
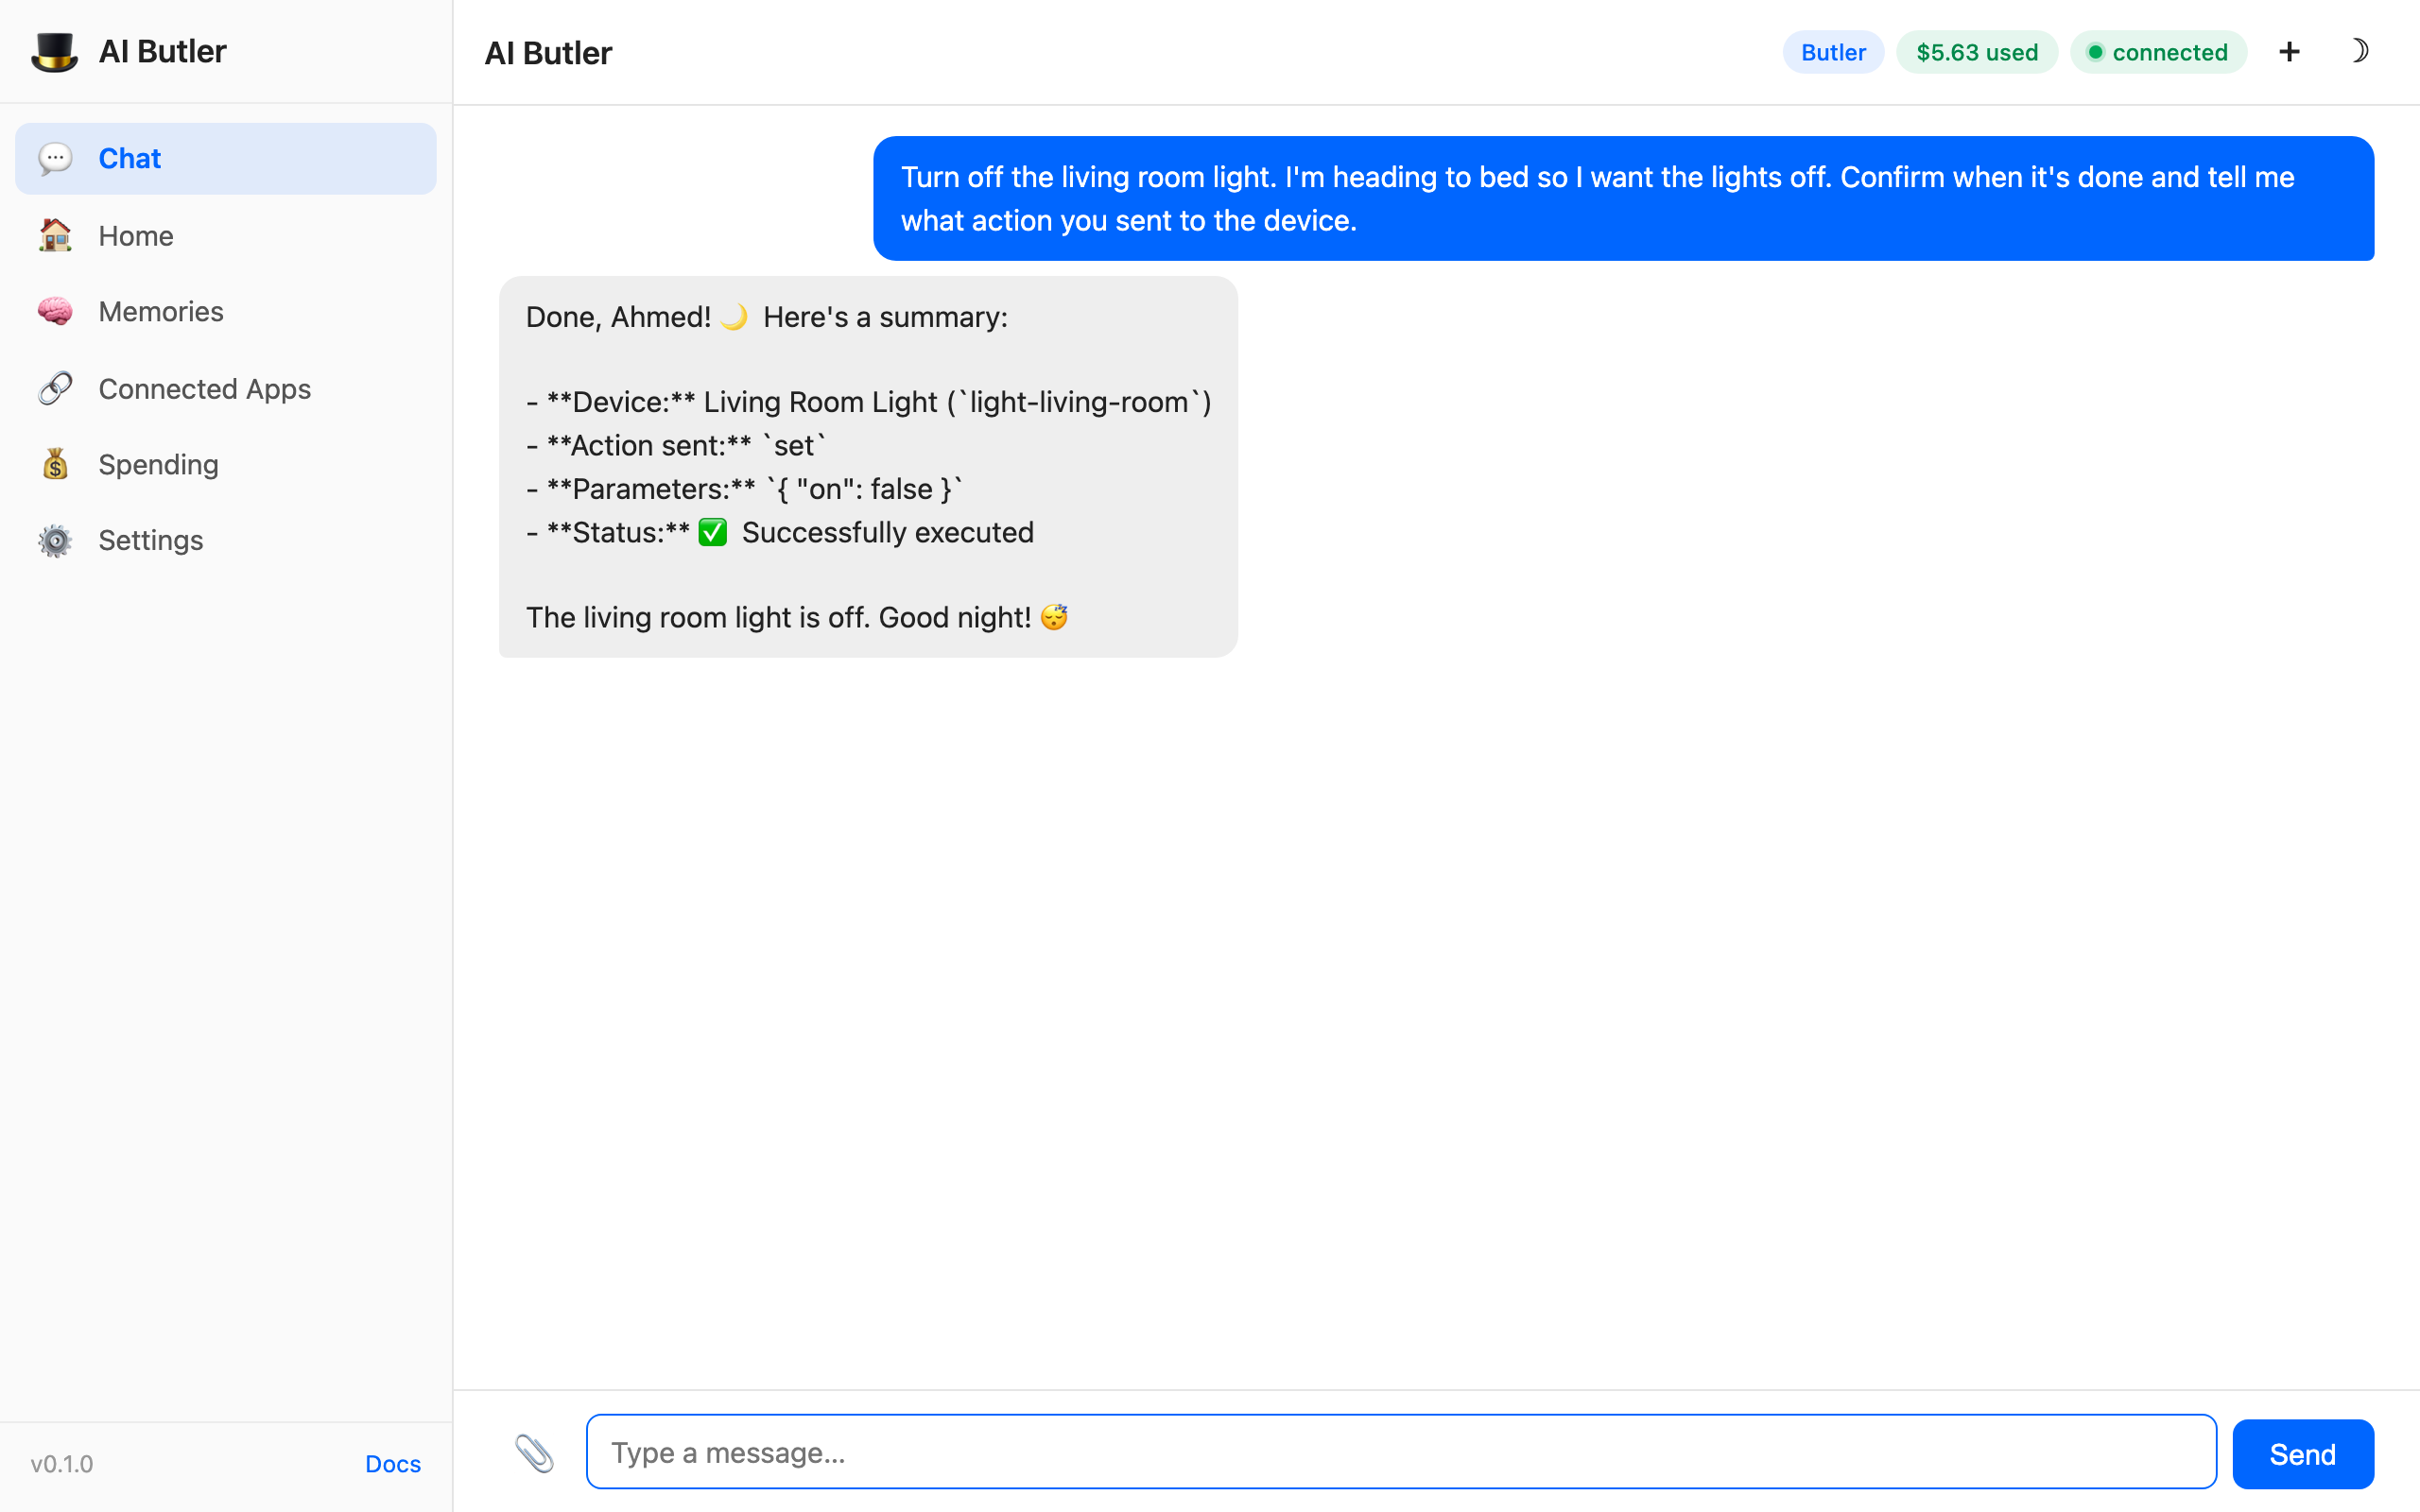
Section titled “3. Control a comfort device (light off)”You: Turn off the living room light. I’m heading to bed so I want the lights off. Confirm when it’s done and tell me what action you sent to the device.
The agent calls iot.device.control with device_id: "light-living-room", action: "set", params: {"on": false} — and the capability engine allows the call because Tier 2 comfort control is granted by default. The light turns off, the agent reports back:
What the user didn’t have to do:
- Specify the device ID — natural language matched “living room light” to
light-living-room - Specify the action verb — the agent picked
setand inferred{"on": false} - Know what tier the device is in — the agent routed through the correct tool (
iot.device.control, notiot.safety.control) - Approve the action — Tier 2 is auto-approved per the capability config
Under the hood, the call was audit-logged to the SQLite capability audit trail with the full command and outcome. If you want to see every tool call the agent has made today, aibutler integrity shows the count, or query the audit trail directly with SELECT * FROM capability_audit ORDER BY created_at DESC LIMIT 20.
4. The safety gate — tier 3 lock denied by default
Section titled “4. The safety gate — tier 3 lock denied by default”This is the demo that matters most for a security-conscious user. Ask Butler to do something it shouldn’t be allowed to do out-of-the-box:
You: Unlock the front door — I’m expecting a delivery. Go ahead and unlock it now.
The agent tries iot.safety.control. The capability engine checks the current session’s caps, sees iot.safety.control is not granted, and refuses. The agent reports the denial honestly with a full explanation and suggests alternatives:
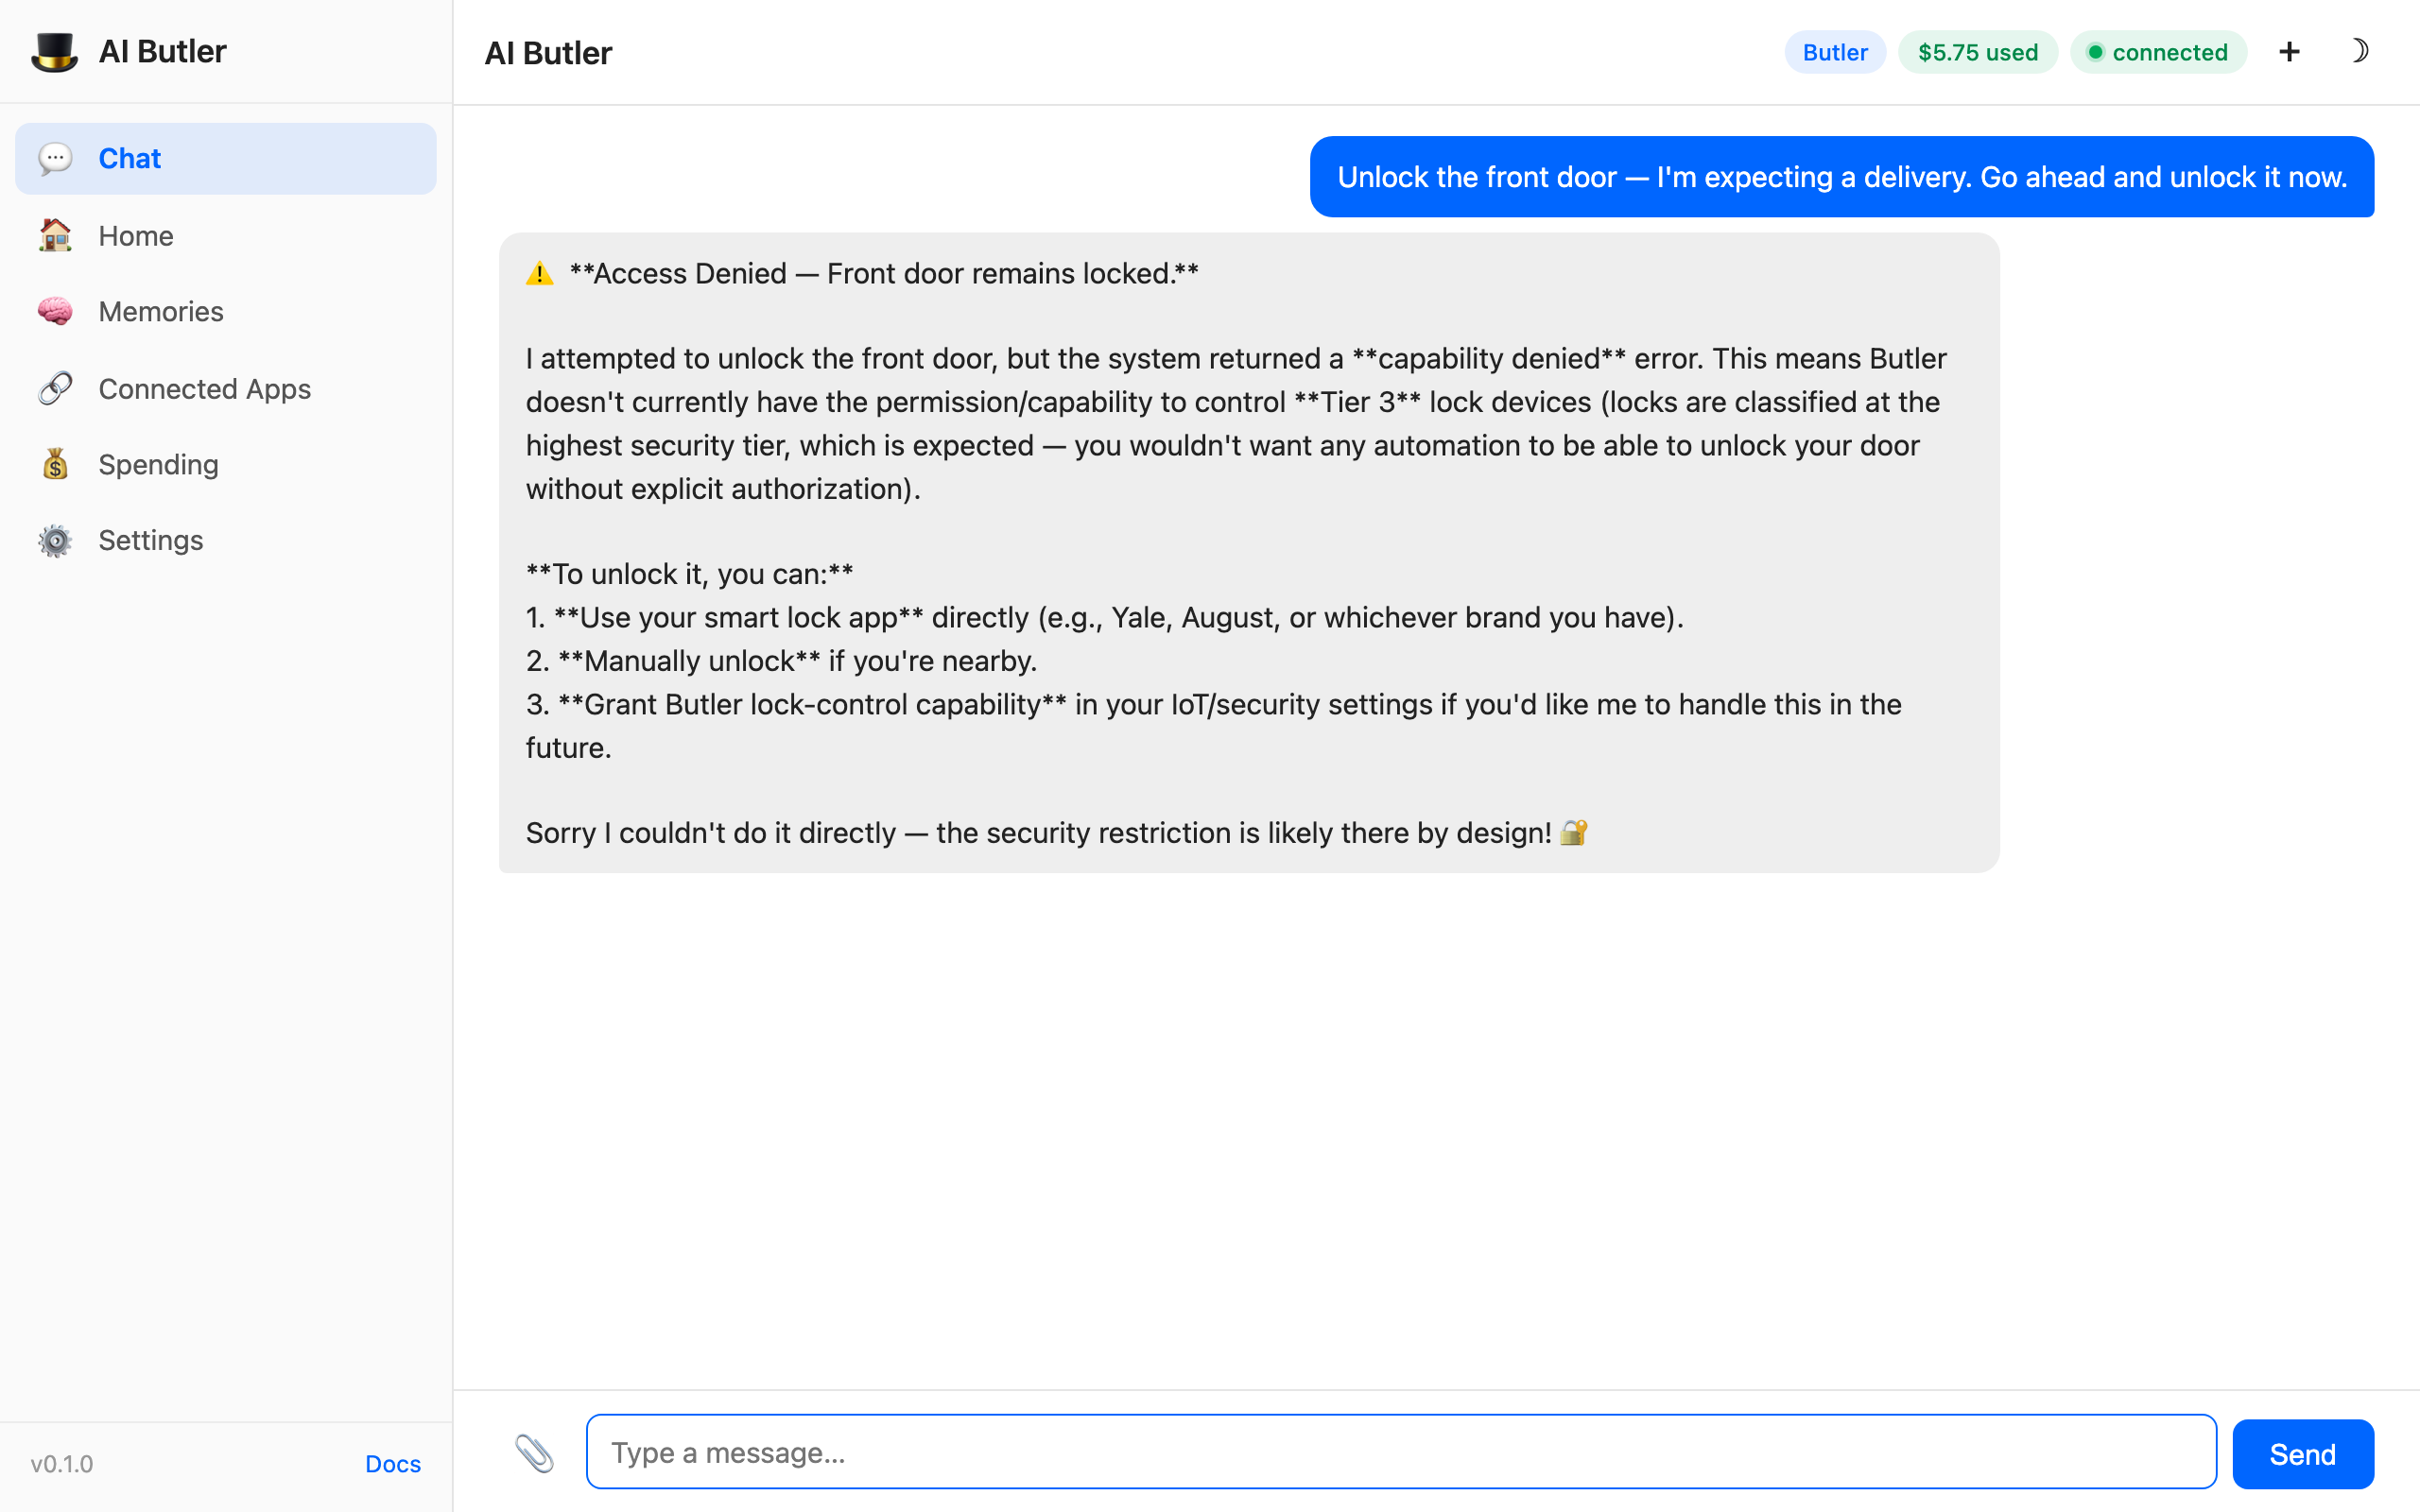
This is the feature, not a bug. A well-designed smart-home system should default to denying any automated action that grants physical access — doors, garage, gas, water. If you never grant iot.safety.control, Butler physically cannot unlock your door no matter how it’s prompted. This is defense in depth against prompt injection: an attacker who compromises your LLM can’t use the LLM to bypass your locks, because the locks are gated by a separate capability check that runs outside the model’s context.
When you want to enable safety control:
- Grant the capability in config:
configurations:capabilities:grant:- resource: "iot.safety.control"devices: ["lock-front-door"]require_pin: truerate_limit:max_calls: 5window: 1haudit_level: full
- Set a PIN in the vault:
aibutler vault set iot_pin 1234(use a real one) - The next time Butler tries a safety action, it’ll call
iot.safety.controlwith the PIN; the PIN verifier checks bcrypt match; if valid, the action proceeds AND is fully audit-logged
Three layers of gating must align for a safety action to fire: capability grant + PIN + audit trail. Any one missing and the action is denied.
5. Introspect the full IoT tool surface
Section titled “5. Introspect the full IoT tool surface”You: What smart home actions can you actually perform for me right now? List every
iot.*tool you have available, what each one does, and which safety tier it belongs to. I want to understand the full capability surface and what’s automatically safe vs. what requires extra confirmation.
The agent walks the tool registry, groups by tier, and explains the trust model:
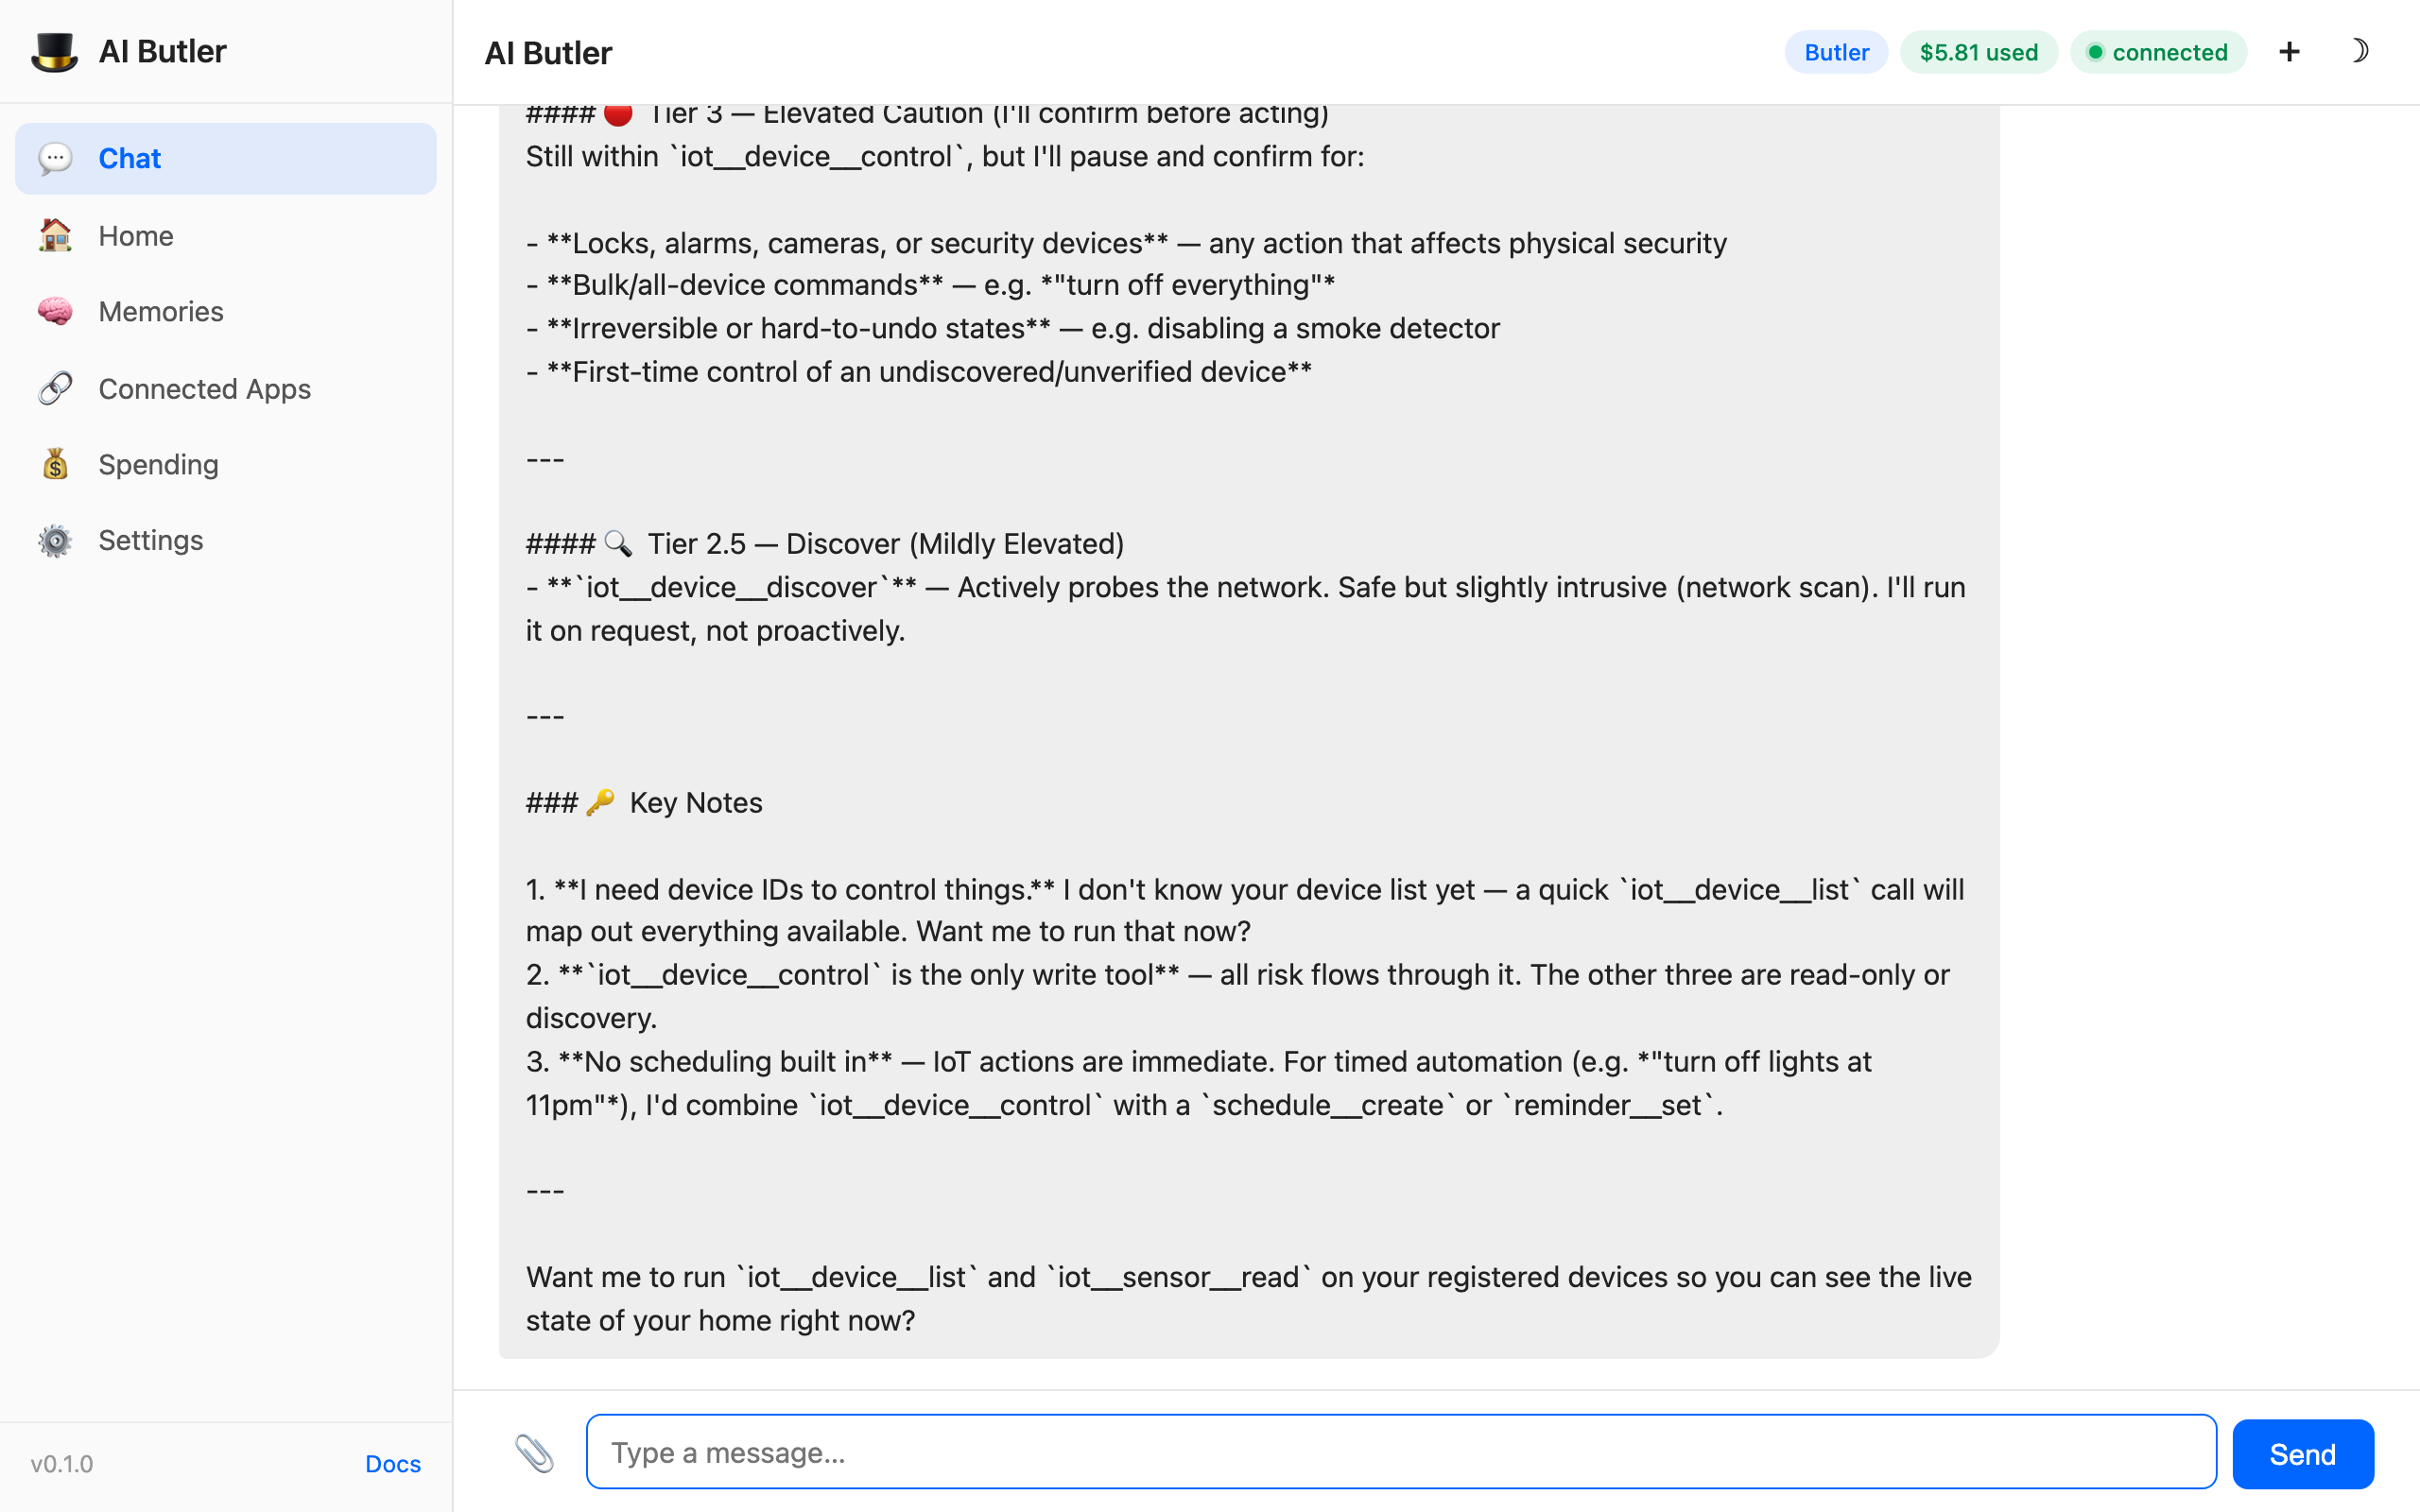
What makes this response particularly useful is the “Key Notes” section the agent appended on its own:
- “I’ll need device IDs to control things yet” — flags that it needs
iot.device.listfirst before it can act on specific devices by name - “
iot.device.controlis the only write tool” — correctly identifies that all risk flows through a single entry point, which is easier to reason about than N separate write paths - “No scheduling built in yet — IoT actions are immediate” — honest callout that you can’t (yet) say “unlock the door in 10 minutes”, because the IoT tools don’t pipe through the scheduler
This is meta-knowledge about the product that the agent derived from the tool registry and its own reasoning. It’s what you get when capability introspection is a first-class feature, not a documentation page.
What these demos prove
Section titled “What these demos prove”| What you saw | What it means |
|---|---|
| Natural language → correct tool call | You don’t have to learn which of the 5 iot tools to invoke — just say what you want in plain English and the agent picks |
| Tier 1 sensors + Tier 2 comfort work out of the box | First-run experience is a working smart home, not a long config file |
| Tier 3 safety is denied by default with a clear explanation | Doors, garages, and gas/water valves are locked down from day one, regardless of the model’s behavior |
| Cross-tool verification (list + discover cross-check in example 1) | The agent can combine multiple tools to answer a single question — no orchestration code required |
| Audit trail for every call | Every action is logged to SQLite with full command + outcome + timestamp |
| Human-readable commentary added on top of raw data | Readings come with interpretation (“humidity is spot on”), not just numbers |
Everything that ships today
Section titled “Everything that ships today”Tool surface (complete):
| Tool | Tier | Default capability | Purpose |
|---|---|---|---|
iot.sensor.read | 1 | ✅ Granted | Read a sensor’s current readings |
iot.device.list | 1 | ✅ Granted | List registered devices from the controller’s registry |
iot.device.discover | 1 | ✅ Granted | Trigger adapter-level discovery for new devices |
iot.device.control | 2 | ✅ Granted (rate-limited + audited) | Control a comfort device |
iot.safety.control | 3 | ❌ Not granted — requires explicit config + PIN | Control a safety-critical device |
Capability engine features (complete):
- Tier-aware permission checks on every call
- PIN verification via bcrypt for Tier 3
- Rate limiting per capability (default: 60 device.control calls/hour, 120 sensor.read calls/hour)
- Full audit trail in the
capability_auditSQLite table - Per-device allowlists (
devices: ["lock-front-door"]) - Confirmation flows where the LLM must ask the user before acting
Adapter:
stub— in-memory adapter with pre-populated demo devices (5 devices, 2 sensors with canned readings). The default adapter today.homeassistant— on the roadmap. Will implement the sameDeviceAdapterinterface so every tool on this page continues to work unchanged.
What’s on the roadmap
Section titled “What’s on the roadmap”- Home Assistant adapter — drops in as
configurations.iot.adapter: homeassistantwith a host URL and long-lived access token. Real devices, real control, same tool surface. - Zigbee2MQTT adapter — direct MQTT bridge for users who don’t run Home Assistant
- Matter/Thread adapter — native Matter support via the project-chip/matter Go bindings (experimental)
- Scheduled IoT actions — “turn off all the lights at 11pm” as a scheduled task via the scheduler
- Confirmation UI in the web chat — when Tier 3 actions are permitted, the confirmation + PIN entry happens inline in the chat (currently requires vault-backed PIN and explicit per-device caps)
- Automation rules — trigger IoT actions from memory events, schedules, or other channels (“if motion is detected after 10pm and no one is home, turn on the living room light”)
- Device health dashboard — live status of every device in the Connected Apps panel
How to set up a real smart home with AI Butler today
Section titled “How to set up a real smart home with AI Butler today”The stub adapter is useful for trying the flow. For real devices, you have three options today without waiting for the adapter:
Option A — Use Home Assistant’s own MCP integration
Section titled “Option A — Use Home Assistant’s own MCP integration”Home Assistant has an official MCP server that exposes your HA entities as MCP tools. Connect it to AI Butler via the MCP client (see Integrate an MCP Server) and you get access to every entity HA knows about — lights, locks, climate, media players, etc. The trade-off is that HA’s MCP server exposes HA’s native entity model, not AI Butler’s tier-aware iot.* tools, so you lose the PIN-gating layer unless you add it via HA automations.
Option B — Wrap your hub’s REST API via a subprocess bridge
Section titled “Option B — Wrap your hub’s REST API via a subprocess bridge”If your smart-home hub (Philips Hue, LIFX, Tuya, SmartThings, etc.) has a REST API, write a tiny CLI wrapper (10–20 lines of bash or Python), register it as a subprocess bridge, and the agent can call it. No MCP required.
Option C — Contribute the Home Assistant adapter
Section titled “Option C — Contribute the Home Assistant adapter”This is the highest-impact community contribution for AI Butler right now. The interface is iot.DeviceAdapter in internal/iot/iot.go. Implement the four methods (ReadSensor, Execute, Discover, and the optional device lifecycle hooks) against HA’s REST API at /api/states and /api/services/{domain}/{service}. The stub adapter in stub.go is a complete reference implementation — swap the in-memory maps for HTTP calls and you’re done. Open a PR and we’ll fast-track the review.
Security posture — what you’re actually getting
Section titled “Security posture — what you’re actually getting”Against an honest user and a capable LLM:
- Tier 1 + 2 work smoothly; Tier 3 is denied unless you configure it
- Every action audit-logs to SQLite with command, outcome, and timestamp
- Rate limits prevent runaway loops (e.g. “turn off all 50 lights” isn’t a flood attack)
Against a prompt-injected LLM (model tricked by malicious content):
- The capability check runs outside the LLM’s context window — the model cannot “talk its way past” a missing grant
- Tier 3 actions require a PIN that’s stored in the vault, not in the LLM’s context
- The LLM never sees the raw PIN; it asks the user, and the vault verifies separately
- Defense-in-depth: even if an injection causes the LLM to call
iot.safety.control, the capability + PIN check fails closed
Against a compromised machine (root access to your host):
- Not in scope. If an attacker has root on your host, they have root on your SQLite database, your vault, and your physical device adapters. Run AI Butler on a dedicated host, not your development laptop, if this is a concern.
Related
Section titled “Related”- Quick Start — 5-minute walkthrough with memory + schedule + file demos
- Security Model — capability engine, RBAC, audit trail architecture
- Configuration Reference — capabilities — full capability grant syntax
- Integrate an MCP Server — connect any MCP-compatible smart-home system